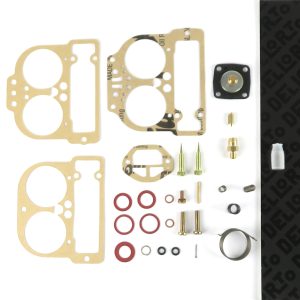
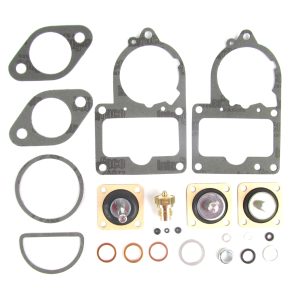
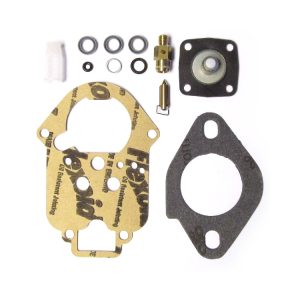
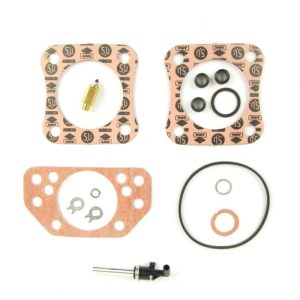
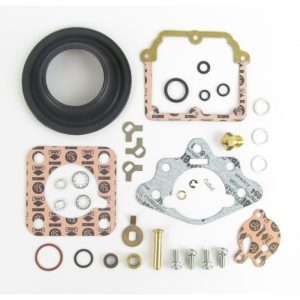
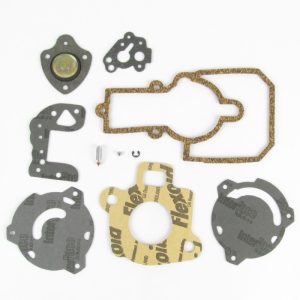
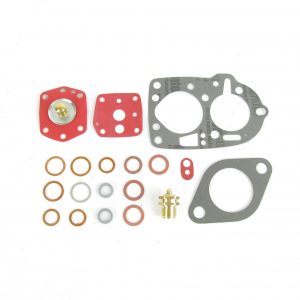
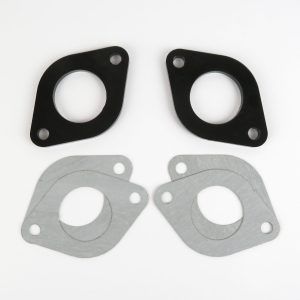
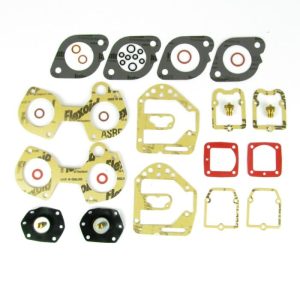
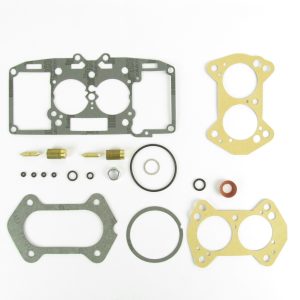
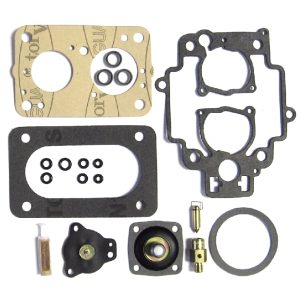
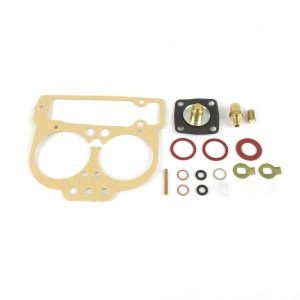
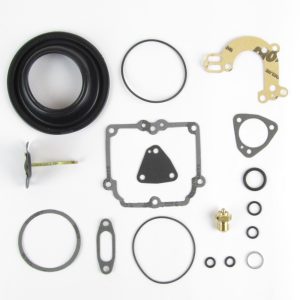
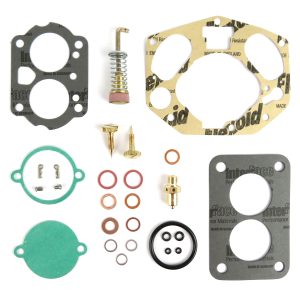
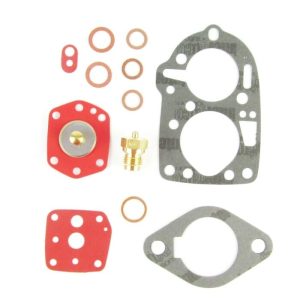
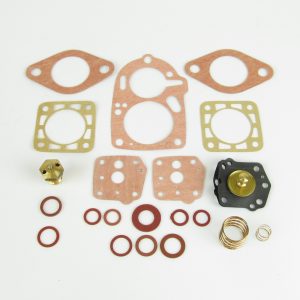
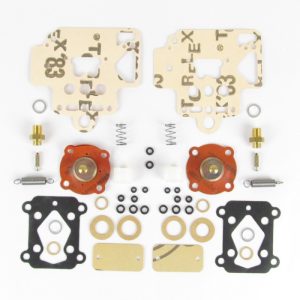
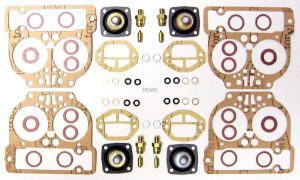
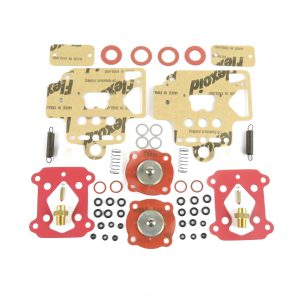
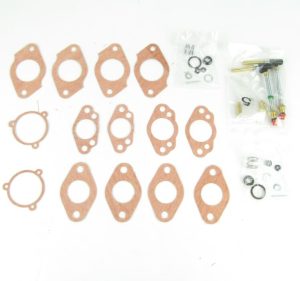
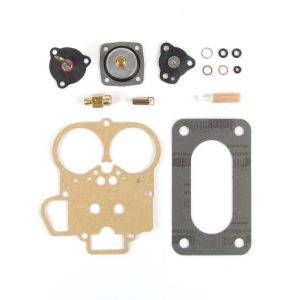
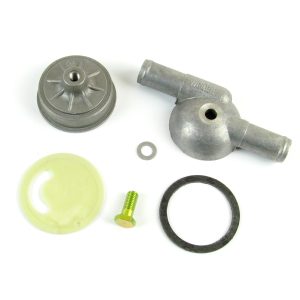
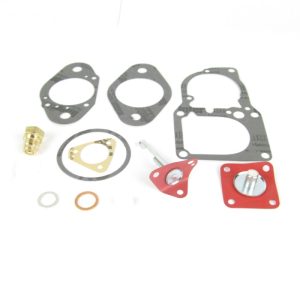
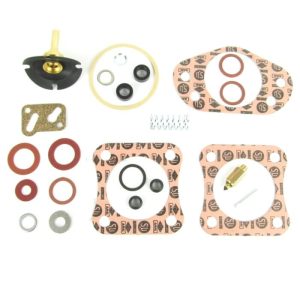
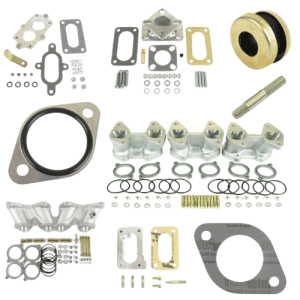
Components of a Typical Carburettor Gasket Kit
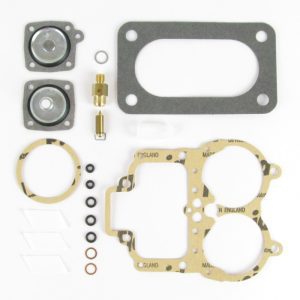
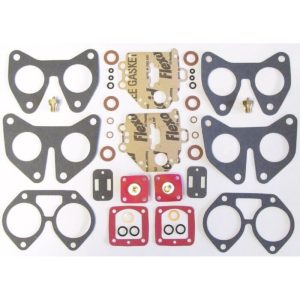
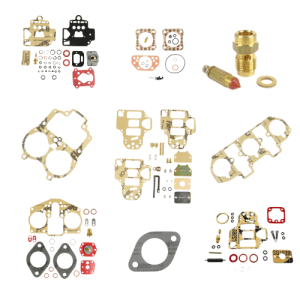
A normal float type carburetor gasket kit will include various components designed to maintain or repair your carburettor. While the specific contents will vary depending on the carburettor you’re working with and the gasket kit manufacturer, a typical kit generally contains:
- Gaskets: These are thin sheets of material used to create a seal between two surfaces.
- Seals: Rubber or synthetic components that prevent air or fuel leaks in and around the carburettor and intake manifold.
- Diaphragms: Flexible membranes that regulate fuel or air flow in some carburetor designs.
- O-rings: Small, ring-shaped seals used in various carburetor joints.
- Needle valves: Components that control fuel flow into the carburetor fuel bowl.
- Float bowl gaskets: Specific gaskets for sealing the float bowl to the carburettor body (see ‘Gaskets’ above)
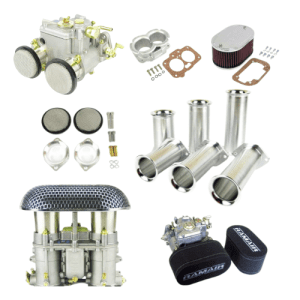
- Air horn gaskets: Gaskets that seal air horns / trumpets towards the top or side entry of the carburetor.
- Throttle shaft seals: Seals that prevent air leaks around the throttle shaft.
Why Use a Carburetor Tune-Up Kit
Fuel can degrade rubbers plastics found in carburetors. This is especially so with modern fuel which is ethanol enriched. Parking a car up for many months means that the fuel in the tank and the carburetor becomes hydroscopic (it absorbs moisture from the air). This then tends to separate from the chemicals in the fuel which leads to corrosion of the fuel tank and the carburettor. Avoid leaving fuel in tanks and carburettors for prolonged period of time. If a carburettor is suspected of air or fuel leaks or blockages, then it will need to be cleaned and serviced. This is where a tune-up kit is a must-have!
Using a carburetor tune-up kit involves carefully disassembling the carburetor (take photos during disassembly to help you with re-assembly!), cleaning all parts inside and out, including internal passages and jets where possible, and replacing worn or damaged parts with those provided in the kit, particularly parts like diaphrams, seals and gaskets. This process ensures that the carburetor can accurately mix fuel and air, which is critical for efficient engine operation.
After reassembly, fine-tuning adjustments such as setting the idle speed, air-fuel mixture, and float level are made to achieve optimal performance. Proper use of a carburetor tune-up kit restores lost power and fuel efficiency and extends the engine’s life by ensuring the correct fuel mixture is delivered under all operating conditions.
Tips For Proper Installation
To ensure proper installation of carburettor gaskets and avoid common mistakes, consider the following tips:
Tips for Proper Installation:
- Clean Surfaces Thoroughly: Ensure that both the carburetor and intake manifold mating surfaces are perfectly flat, clean and free from old gasket material, dirt, and debris. Use a suitable scraper or chemical cleaner but avoid scratching the surfaces. Brushes are also good for this, but ensure that no deep scratches with sharp steel blades are made into the mating surfaces.
- Use New Gaskets: It is almost always best practice to replace old gaskets with new ones to prevent leaks. Old gaskets may not provide a proper seal and can lead to performance issues.
- Align Gaskets Correctly: Make sure the gaskets are properly aligned with the mounting holes. Misalignment can cause vacuum leaks that affect engine performance.
- Avoid Over-tightening: Tighten screws and bolts to the manufacturer’s specifications using a torque wrench if applicable. Over-tightening nuts and bolts can can lead to metal warpage and therefore to poor sealing with fuel and air leaks.
- Check Float Level: If applicable, ensure that the float level is set correctly during assembly to prevent flooding or running lean.
Use carb cleaner spray to clean through all related jets and air-fuel mixture passages and internal circuits, including through the emulsion tube (if applicable), main jet, idle jet (if applicable), pump jet (if applicable), inlet needle valve etc. Small, purpose made carburetor and jet cleaning brushes or wire cleaners are available to help you clean through all passages.
The choke plate and throttle plate should not need removal or any servicing, providing they are free moving, and their related levers and linkages operate as they should.
Check that the throttle and choke plates (if applicable) can reach full open throttle and full closed throttle and respectively full choke on and full choke off (if applicable).
Give the choke and throttle plate a thorough wipe with carb clean and a clean cotton rag, and that’ll do just fine.
Common Mistakes to Avoid
- Skipping Cleaning Steps: Failing to clean mating surfaces well can lead to poor sealing and therefore air or fuel leaks.
- Using Incorrect Gasket Kits: Ensure that the gasket kit matches your specific carburetor model. Using the wrong kit will result in improper fit and sealing problems, frustration and unnecessary expense.
- Neglecting to Test for Leaks: After assembly, test for fuel leaks around the gaskets & seals before reinstalling the carburetor. This helps catch any potential issues early on.
- Rushing the Installation Process: Take your time during installation. Rushing can lead to mistakes such as misalignment or leaving debris on sealing surfaces or fitting parts the wrong way around, or forgetting where bits go etc..
Tip: If possible, take numerous photos of each and every part during the strip-down and dismantling process. This will help you see exactly where and how each part fits and in what angle when the time comes to rebuild the carburetor, especially if time elapses between stripping and rebuilding.